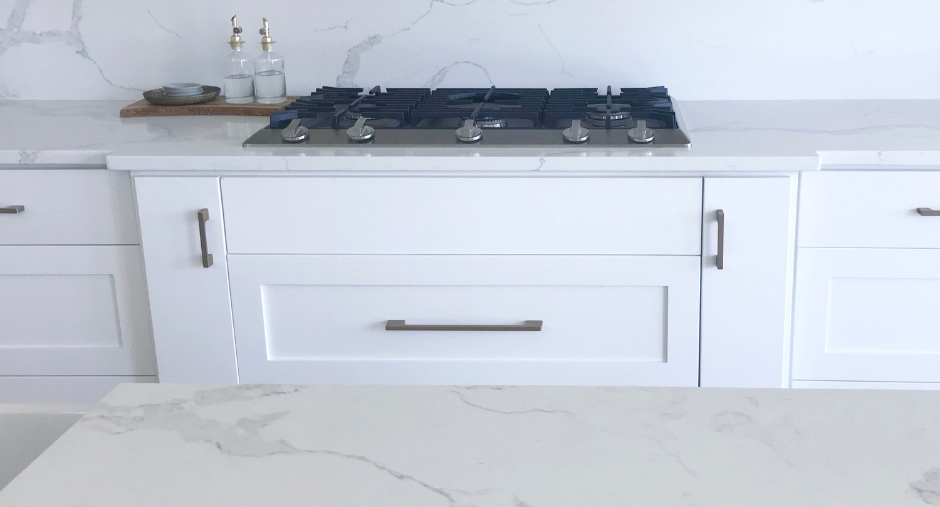
Sleek and elegant as an addition to your kitchen, quartz countertops add value to your home and can elevate your kitchen aesthetic to a new level. Quartz is not an impervious stone, despite its durability.
Accidents can occur, undermining even your best efforts to protect your investment. If the damage is small and realistically reparable, consider the following tips for mending the scratch.
Check Your Warranty
Verify the terms of your warranty if you have one. In the event your warranty covers repairs for small-scale damage, any work you do yourself may void the terms and cost you unnecessary time and money.
Any amount of damage is worth checking against your warranty. Prudence is key—a simple phone call can save you the stress and uncertainty of doing work you may not have done before.
Step: 1 Clean the Surface
Debris can make a scratch seem worse or even compromise the quality of your work. Use soap, water and a cloth if you do not have an ammonia-based cleaner and clean the surface until it is clear of grime, dirt, and dust.
Step 2: Select Quartz Polish or Glue
Your choice depends on the severity of the damage in question. Whereas quartz polishing compounds will deal with small, shallow scratches, deeper scratches will warrant the use of epoxy or resin glue. A good rule of thumb is to opt for polish if the scratch is smaller than a half dollar.
If the scratch is larger, be sure to contact the manufacturer for an epoxy or resin glue that matches your counter’s material. Using the proper type of glue will mitigate any issues of structural integrity while maintaining visual consistency.
Step 3: Proper Application
Apply the polish or glue to the scratch conservatively, as an excess can create more work or even worsen the damage. If you are using quartz polish, apply no more than a quarter-size amount and use a buffing pad on a grinder to apply gentle and even pressure.
If you are using an epoxy or resin glue, make sure to fill all internal spaces in the scratch. Additionally, wear proper safety equipment to protect yourself from any harmful vapors.
Step 4: Touch-up Work
Be sure to start with lower grade polish before switching to higher grade. Doing so will first wipe out signs of damage, then improve the polish of the final work to leave the surface looking like new.
On the other hand, most epoxy and resin glues will dry 24 hours after application. Carefully cut away sections of glue that protrude beyond the counter’s surface with a razor blade at a 45-degree angle.
Step 5: Post Cleaning
Clean the counter again in the same method as in Step 1. This crucial step will prevent any debris or remaining dirt from sticking to or soiling your finished work.
No matter the size or type of damage, we at Designer Marble & Granite are a resource for you.
Footer
Company
Our Services
Contact Us
- 941.365.4209
- contact@designermarbleandgranite.com
- 1227 Mango Avenue, Sarasota, FL 34237
- Mon – Fri: 9:00 AM – 5:00 PM
Sat: By Appointment Only